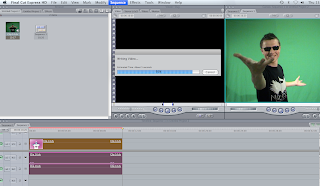
 Green screen is new technology that allows you to add and change backgrounds of the things you have filmed. In preparation for the creation of our music video we have had a go at changing the background of a clip.
1. Open final cut and import your selected clip, dragging it too the timeline. You must then render the video ready for you to work with. You do this by selecting your video and clicking onto the sequence option at the top of the screen, select render all and then both.
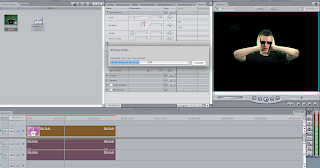
2. Now you can start editing your green screen. Select the effects option at the top of the screen, go to video filters, key and then select Chroma Key. A new tab will appear in your video box called Chroma Keyer, select it. On this screen there is a colour select tool. Click on this and select the background. You will then be given options on a scroll system. Edit the background until it is how you want it. Some of the screen might still be green because th
e greens might be different shades. If this does happen there is a tab on your video screen called motion, select this and crop your video until it is how you like it. You can also cut the length of the clip by using the razor tool.
3. Once you have finished, once again render your video and press play to watch.

No comments:
Post a Comment